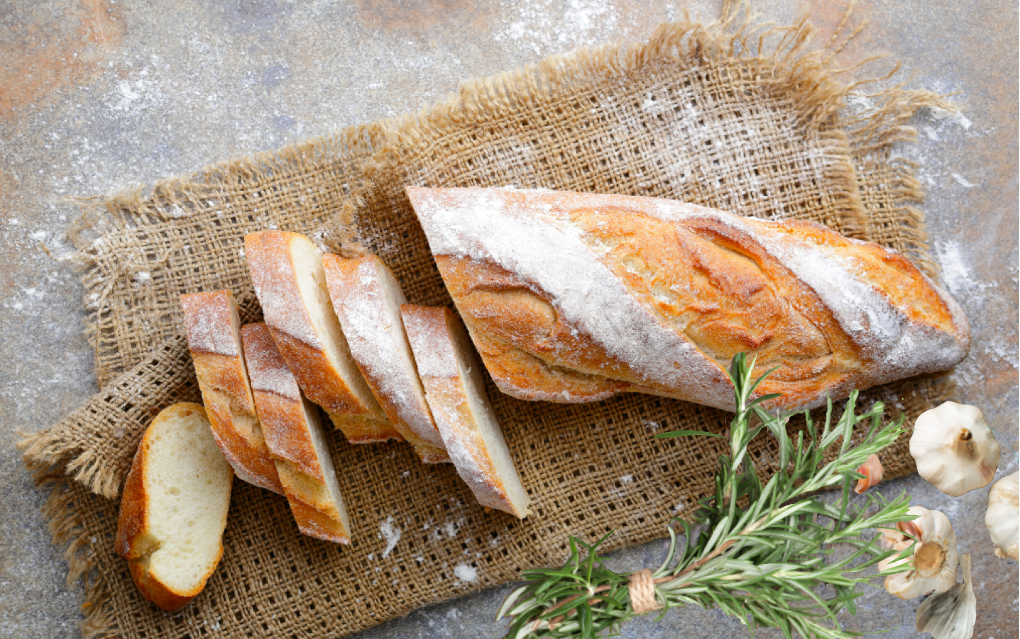
On nights we fix Italian food there is really no better companion with the meal than this Garlic Rosemary Sourdough Bread baked as long, thin bâtards, rolls, or even bread knots.
Garlic Rosemary Sourdough Bread Ingredients

With this recipe, we begin, of course, with our 3 Perfect Ingredients™, flour, water, and salt, then a bit of minced garlic and fresh rosemary added for flavor. That means this bread is not only delicious, but for those who are gluten-intolerant, it may be more digestible.
This recipe is delicious warm from the oven or reheated and served with spaghetti or lasagna, and it even makes a delicious base for your next homemade pizza. And as always you can shape these in rounded boules, or try your hand at long bâtards, hard dinner rolls, or even bread knots, making this a versatile dough recipe for “Italian night” at your home.
Seven Steps to Making This Loaf
- Activate the start †
4–8 hours before you want to make the dough you must activate the start. Mix ¼ cup start with ½ cup (120 grams) water and ¾ cup (120 grams)* flour. Let it sit covered until it is bubbly and thick and smells sweet (approximately 6 hours). Your start is ready when it floats in water.
(Be sure to always save some starter for your next batch. Feed it flour and water daily, otherwise, store it in the fridge. It can stay there indefinitely, but the longer it has been in there, the longer it will take to activate. Do not store start in a metal container. ) - Mix
In a large glass bowl or stand-mixer combine water, starter, flours, fresh rosemary, and minced garlic. Mix just until ingredients are combined, but do not knead the dough. Let it rest for 30 min.
Then add 2 Tbsp salt and ¼ cup water. Mix the water and salt into the dough, cover, and “turn” your dough (see next step). - Stretch and Fold Dough
Now “turn” your dough. First, dip a hand in water, then reach in, grab the bottom edge of the dough and pull up, stretching it, and folding it on top of itself. Do this four times all around the bowl. This all counts as one full “turn.” Let it sit covered for 30 minutes. Then turn your dough again. Let it sit covered for another 30 minutes. Turn your dough one final time. - Bulk Rise
Next, let the dough sit for its bulk rise (8-12 hours).
Tip: warmer temperatures will result in dough that is ready sooner, and colder temperatures will require the dough to sit longer. - Bench and Shape
Dump your dough onto a floured or oiled surface. Using a bench knife, cut dough in half to form two loaves. Let sit for 30 minutes (this is the bench rest). Fold the dough to create tension and shape into a boule. Start at one edge and fold the dough over toward the center. Then roll the dough up like a jelly roll, turn and repeat several times until the dough tension itself more tightly together. Using a dough blade or your hands, turn the dough in a flat circle until it shapes into a ball. - Proof the Dough
Place on a floured towel or oiled parchment paper and set in a bowl. Cover bowl with a lid and let rise until doubled (45 min to 1½ hours depending on temperature). The dough is ready when it is puffy but has not yet doubled in size. -
Score & Bake
20 minutes before baking time, place your dutch oven in the oven to preheat at 475°F (246°C). When the oven is ready, score the top of each loaf. Place the dough in a dutch oven and splash water in it with your fingers before covering with the lid. Bake for 30 minutes in the dutch oven, until the bread is golden brown. Remove and cool completely before cutting (1-2 hours). Enjoy!
† If using a dehydrated start pour the flakes into a shallow bowl, barely cover with water. Let it sit until they rehydrate (24 hours or so), occasionally breaking it up with your fingers to help it hydrate large flakes. Once it is reconstituted, your start is ready to activate.
* Most bakers measure by weight rather than volume. If you have a kitchen scale we suggest weighing your ingredients. This is an online calculator that you can use.
Tell us about your favorite sourdough recipe to go with Italian food in the comment section below.